10 Expert Tips for Safely Powering Your Shed or Garden - Meteor Electrical Guide
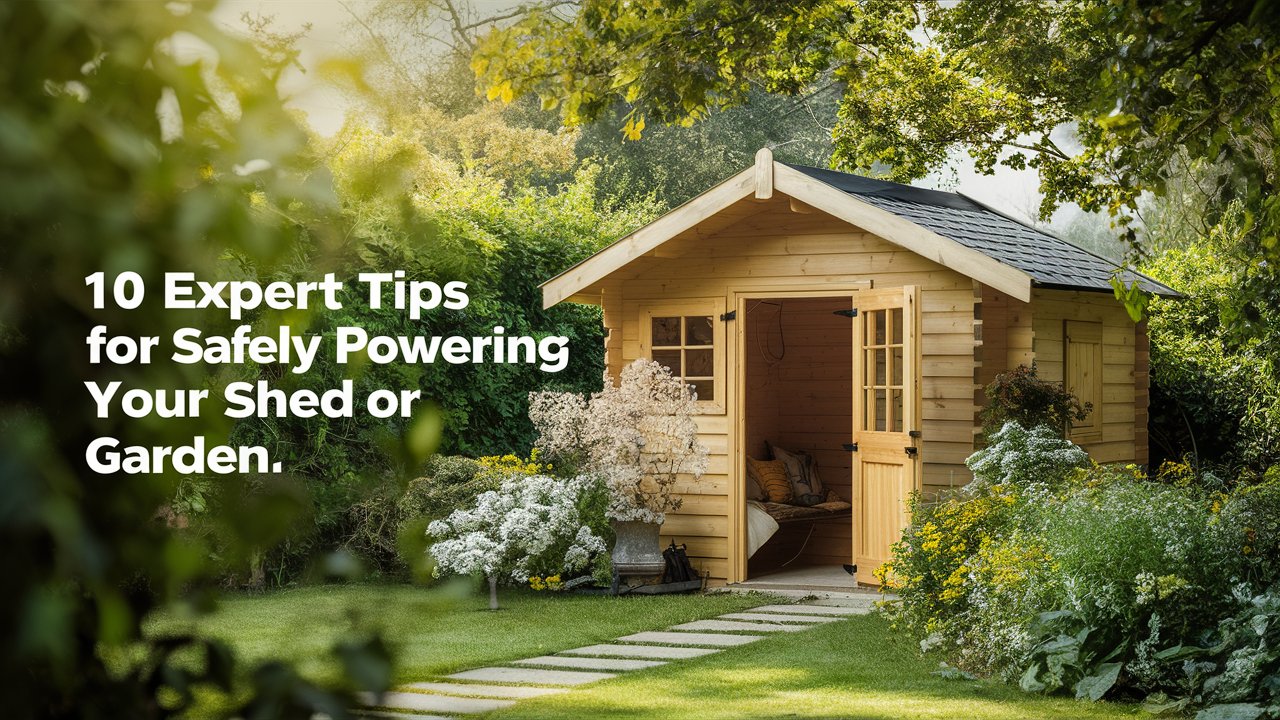
Since the first COVID-19 lockdown, many people in the UK and Ireland have embarked on DIY projects, transforming their sheds and gardens into gyms, offices, beauty salons, and bars.
With the shift to remote and hybrid work, the demand for ‘shoffices’ (shed offices) has surged (The Times). Running electricity to your shed can be challenging, but with these 10 expert tips from Meteor Electrical, you can ensure your project is safe, compliant, and efficient.
Let’s Begin!
Safety First: Consult a Professional Electrician Before Any DIY Electrical Work. Attempting electrical work in a shed without proper qualifications or guidance can result in hazardous outcomes. Always consult a qualified electrician before starting any DIY electrical project to ensure safety and compliance. Their expertise can prevent accidents and ensure your project meets regulatory standards, providing peace of mind and a successful outcome.
1. Strategise Your Layout: Designing Your Dream Shed or Garden Space
Before starting the electrical work, consider the ultimate purpose of your shed or garden. Are you transforming it into a serene home office, a high-energy gym, or a cosy retreat for hobbies?
Consider the practicalities: Do you need ample lighting for detailed projects or a serene ambience for relaxation? Take stock of your electronic essentials, whether a treadmill, desktop, printer, or mood-setting LED lights.
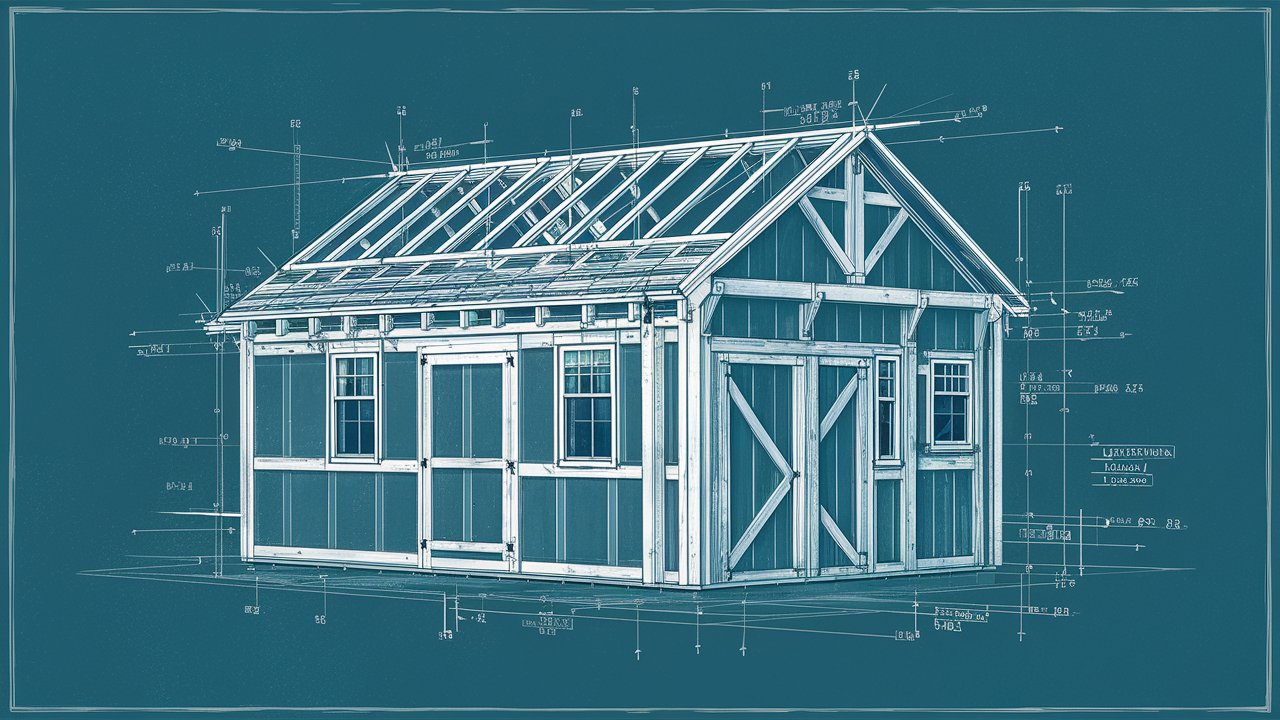
Create Your Blueprint
Grab a pen and sketch out a basic floor plan (Perway). Map out where each device will go, ensuring efficient use of space and easy access to power sources. Be thorough – the more detailed your plan, the smoother the execution.
Consult with Your Electrician:
Once you have your vision, discuss it with your electrician. Share your floor plan and list of devices, providing insights into your usage patterns and preferences. Their expertise will help optimise your layout and ensure seamless integration of electrical components.
With a well-structured floor plan, you can efficiently streamline the process of running electricity to your shed. This plan helps you visualise the layout and enables your electrician to work more effectively, reducing the need for additional visits and relevant charges.
For instance, if your shed serves as an office, you'll require switches, sockets, and 3-compartment dado trunking to manage power, data, and communication. Conversely, consider installing LED strip lighting beneath the counter for a bar shed to enhance the ambience.
Remember: A well-thought-out plan sets the stage for a successful project. So dream big, plan meticulously, and watch your shed or garden space come to life!
2. Choose Your Path: Overhead or Underground Wiring?
When running electricity to your shed, your path can make all the difference in safety and durability. Consider the pros and cons of each method.
Although above-ground wiring may seem convenient, it poses higher risks of damage and safety hazards, especially in outdoor environments.
If you opt for this route, ensure your cables are protected with armoured cable and follow junction box wiring guidelines for a secure setup. Armoured cables are perfect here because they can withstand environmental damage and are long-lasting.
Underground wiring is the more permanent and safer solution. Utilise PVC conduit or specialised underground cabling to safeguard your wires from external elements. Remember to adhere to electric cable depth regulations, burying your cables at the appropriate depth to prevent damage and ensure longevity.
Consult with your electrician to determine the best approach for your needs and location. They can provide insights into cable size for lighting and offer guidance on compliance with regulations.
3. Seek Expert Advice: Ensuring Safe Electrical Installation in Your Shed
While embarking on a DIY electrical project for your shed can be exciting, safety should always be the top priority. While you may be eager to cut costs, electrical work demands precision and expertise.
Expert Consultation
Before diving into the project, consult a qualified electrician to assess the feasibility and safety considerations. Even if you're inclined to tackle the task yourself, an electrician's guidance can prevent costly mistakes and ensure compliance with regulations (IET).
Collaborative Planning
Engage in collaborative planning with your electrician to map out the project details. Discuss the placement of trenches for underground wiring and identify the necessary materials. This proactive approach streamlines the process and minimises labour costs.
Empowering Safety
By entrusting the project to a professional, you prioritise safety and quality outcomes. Their expertise enables you to make informed decisions and execute the installation confidently.
Want to learn more? Check out this video on how a garden shed gets wired if you want to know the ins and outs of this process.
Credit: Practical Home Projects
4. Choosing the Right Outdoor Electrical Cable
Selecting the appropriate outdoor electrical cable is crucial for ensuring the safety and functionality of your shed's power supply.
Armoured Cable (SWA):
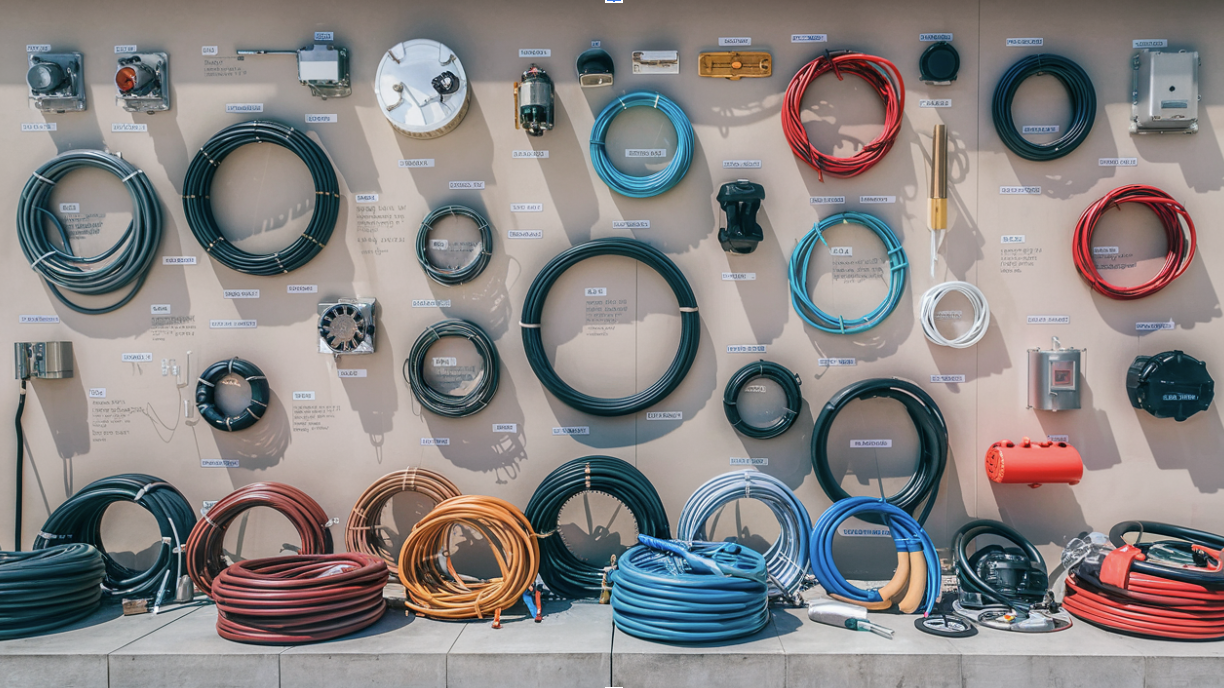
For most outdoor electrical projects, armoured cable (also known as SWA or steel-wired armoured cable) is the best choice. This robust cable features many insulated cores encased in PVC bedding, shielded by a galvanised steel braided wire, and protected by a thick black PVC sheath. The armour reduces the risk of pinching or damage, making it ideal for harsh external environments.
Durability and Safety:
Armoured cables are particularly suited for underground wiring due to their thickness and durability. They provide reliable protection against physical damage and comply with underground cable regulations, ensuring a safe and long-lasting installation.
Waterproof Options:
Consider using waterproof electrical cables for areas prone to heavy rain. While most PVC cables are inherently waterproof, investing in cables specifically designed for wet conditions adds an extra layer of safety. This precaution is essential for maintaining the integrity of your outdoor electrical system.
Protective Conduits:
To safeguard your setup further, use outdoor cable conduits or exterior cable covers. These protective measures help shield the cables from weather-related wear and tear, ensuring longevity and performance.
Compliance and Regulations:
Always adhere to the underground cable regulations applicable in your area. This includes burying cables at the recommended depth and marking them appropriately to prevent accidental damage during future landscaping or construction activities.
Choosing the suitable outdoor electrical cable and taking necessary protective measures can ensure a safe and efficient power supply to your shed. Consult a professional to select the best materials and comply with all relevant regulations for a secure installation.
5. Add Wi-Fi in Your Shed
In today’s digital age, having a reliable internet connection in your shed is essential, whether for your 'shoffice,' home gym, or entertainment space. Here are the best solutions to ensure strong and consistent Wi-Fi in your shed.

Option 1: Install a Wi-Fi Booster
A Wi-Fi booster is a simple and effective solution to extend your internet signal from home to your shed. These devices amplify the existing signal, making it accessible over a greater distance. While boosters are ideal for general internet browsing, they may not provide the high-speed connection required for video calls or streaming.
Option 2: Run an Armoured Ethernet Cable
For the most reliable and high-speed internet connection, consider running an armoured ethernet cable from your router to your shed. This method ensures a stable connection, crucial for activities requiring higher bandwidth, such as video conferencing or online gaming (True Cable).
Underground Installation: If you put the cable underground, use a PVC conduit to protect it from damage and comply with cable regulations. Ensure the cable is buried at the recommended depth to prevent accidental damage.
Testing and Optimisation:
Before finalising your setup, test the Wi-Fi signal strength in your shed. If the signal is weak, reposition the booster or upgrade your router to one with a stronger signal.
By choosing the correct method to extend Wi-Fi to your shed, you can enjoy a seamless internet experience. Whether you opt for a Wi-Fi booster or a wired connection with an armoured ethernet cable, ensure your setup is secure and meets your connectivity needs.
6. Choose The Best Lighting for Your Shed
Are you looking for just a bit of light for storage, or do you need brighter illumination for working late into the night? Whatever your needs, there are numerous garden shed lighting and electrical options available.
First, determine the most effective shed lighting electrical solution for your space. Will you use LED illumination inside, ground lighting for the stairs, or perhaps both? Consider the following factors:
-
Cost-Effectiveness and Energy Efficiency: What’s the most affordable and energy-efficient way to light your shed? LED bulbs are popular due to their low energy consumption and durability.
-
Brightness (Lumens): How much light do you need? Brightness is measured in lumens, and more lumens mean brighter light.
-
Lifespan: How long will the light source last? Consider the expected lifetime of the bulbs.
-
Installation: Are the lights self-installable and battery-operated, or will you need to wire your shed? Determine if you’ll need an electrician.
-
Colour Temperature: The colour temperature of the shed lighting can impact the ambience. Warmer colours are usually more inviting, while cooler shades are more functional.
Not sure where to get started? Here are some shed lighting recommendations
LED Shed Lighting
LED bulbs are one of the best options for garden shed lighting (Energy. Gov). They are not only cost-effective but also durable and energy-efficient. LEDs come in various colours and designs, from spotlights to strip lights, making them versatile for different needs.
-
Benefits: LEDs are effective and robust, making them ideal for garden workshops. They provide bright, long-lasting light while being energy efficient.
-
Considerations: LEDs can sometimes cast shadows or flicker. Opt for a "warmer" colour temperature to create a more inviting atmosphere. To avoid harsh lighting conditions, consider adding extra outdoor shed lights.
Security Shed Lighting
Outdoor lighting options are plentiful for added security. Consider installing security lights with motion sensors to deter intruders or lights that turn on at night and off in the morning to ensure visibility around your shed.
-
Types: Floodlights on the front of your shed, pathway lights leading to the entrance, or motion-activated lights.
-
Benefits: These lights enhance security and provide cost savings in the long run.
Considering these factors and options, you can effectively illuminate your shed to meet your needs.
7. Read Up On Your Legislation for Wiring a Shed
Before starting any work on rerouting your mains electricity, comply with the legal building regulations.
Contact your local electricity providers to inform them of your project and fully understand the current shed wiring rules. They can provide further clarification on outside electrical cable wiring regulations if needed.
Electricity to Shed Wiring Regulations UK
Any electrical work in the garden, such as wiring a shed, must be securely fastened and protected from accidental damage. All electrical equipment and fittings should be suitable for outdoor usage and installed according to the manufacturer's instructions.
Cable Wiring Regulations
If you opt for underground wiring when wiring your shed, ensure the wires are routed to avoid foreseeable disturbances and are buried at a sufficient depth, typically not less than 600 mm.
Cable covers must mark underground cables in accordance with regulation 522.8.10. This regulation states: “Buried cables, outdoor electrical wire conduits, and ducts shall be at sufficient depth to avoid being damaged by any reasonably foreseeable disturbances to the ground”.
Considerations for Shed Wiring Projects
-
Consumer Units: If installing a new consumer unit in your shed, ensure it complies with relevant regulations (BSI).
-
Electric Wire Colours: Use the correct electric wire colours to avoid confusion and ensure safety. In the UK, standard colours include brown for live wires, blue for neutral, and green/yellow for earth (Electrical Safety First).
-
Trunking Sizes: Properly size and install plastic trunking or dado trunking to protect wires and cables.
-
Energy Efficiency: Consider energy-efficient options like LED lighting to reduce your energy costs and environmental impact.
-
Security Measures: Enhance security with outdoor lights equipped with motion sensors or timers (Home Security UK, 2024).
By following these guidelines and complying with regulations, you can ensure a safe and efficient electrical installation in your shed.
8. Digging Your Trench for Running Electrical Cable to Your Shed

Once a professional has drafted and approved your plan, it's time to dig your trench. You can safely undertake this step yourself, saving on labour costs. However, adhere to the cable regulations stipulated for powering your shed and adhere to the required depth.
Digging the trench during favourable weather conditions is advisable to avoid potential damage caused by rain, which could delay your project. Once the trench is dug to the appropriate depth, the ground can accommodate the cable, allowing power to be efficiently transmitted to your shed.
9. Installing an RCD for Safety
An essential component of any outdoor electrical project is the Residual Current Device (RCD). This device plays a crucial role in immediately halting electrical flow in the presence of dampness or overheating, mitigating the risk of fires and electric shocks.
While larger outdoor electrical projects mandate the installation of an RCD, we strongly advocate for its inclusion in projects of any scale due to its paramount importance in ensuring safety.
By incorporating these considerations and safety measures into your project, you can enhance its efficiency and safety, providing peace of mind for you and your household.
10. Avoid Compromising Quality
While projects such as shed conversion or electrical wiring may seem daunting, adherence to all steps is essential to achieve a safe and visually pleasing outcome.
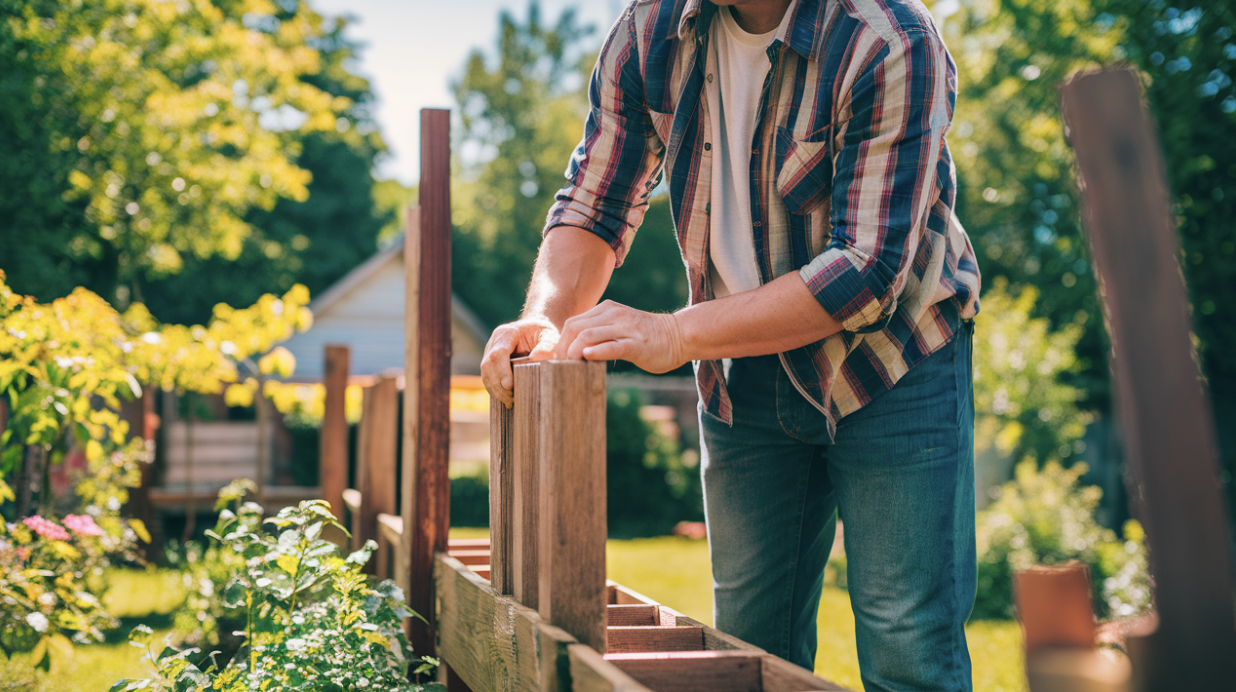
Avoid the temptation to cut corners, particularly concerning electrical installations. Opting for a permanent outdoor extension lead with plug-in lights as a substitute for proper mains power rerouting poses long-term risks, including damage and fire hazards.
When sourcing materials, prioritise reputable retailers offering products with appropriate BSI kitemarks and regulatory stamps. Following these home renovation guidelines for wiring your shed or garden ensures both safety and superior results.
Key Takeaway
In conclusion, powering your shed or garden space can transform your outdoor area into a functional and enjoyable extension of your home. Whether you're setting up a home gym, a shoffice, or a stylish garden bar, these ten expert tips will ensure your project is safe and successful.
From understanding IP rating charts for selecting the right lighting to choosing the correct SWA gland sizes and complying with UK cable regulations, we've covered everything you need to know.
Meteor Electrical offers a comprehensive range of high-quality armoured cables, consumer units, and trunking sizes to help you achieve the best results. Our products meet all your project needs, ensuring your shed or garden space is functional, stylish, and safe.
Don't let electrical challenges prevent you from creating your perfect outdoor space. Explore our products today, including essential 3-core and earth cables, and speak with our knowledgeable team for personalised advice.
Ready to power up your shed or garden? Visit Meteor Electrical and turn your DIY dreams into reality!

